You have to be the change to bring the change.
How to Use Your Living Room as an Art Studio
Our content is reader-supported. We may earn a commission if you make a purchase through one of our links.
After an exhausting week, it’s finally the weekend. You have bottled frustration inside of you, like the neon sign of ever-growing existential suffering. You pick a brush and contemplate all the ways you can confess to a blank canvas. Shall it be a dark alley from a linear perspective? Will it be a landscape that exudes the signature Baroque drama? Or maybe you prefer dipping your brush in the liquid hue you love and see where the brush strokes take you.
You have your canvas, brushes, and paint supplies. But the lightning in your room is dim, preying on the vibrancy of colors. The air is soon stuffed with the pungent smell of oil paint, and you realize there are paint stains on the new carpet. The struggle is real, but you are not alone.
The lack of a proper art studio is a shared dilemma of many amateur and professional artists today. Unless you can afford to construct a separate studio in the yard (if you have one) or pay hefty fees for renting one, the problem persists.
Why Do You Need a Personal Studio?
While painting on the dining table can seem like a tempting idea, it’s not a very viable one unless you want to spend hours scrubbing the acrylics off the mats and making twenty trips to fetch the supplies. A distinct art space is essential for functionality.
Having all your supplies in one place saves considerable time. It allows you to enjoy the process instead of making round trips all over your home looking for the next ingredient. With everything organized in drawers and stands, you can switch mediums easily if you feel like it. For instance, you can start a quick graphite sketch while that layer of oil paint dries.
As an artist, you likely value design and aesthetics. Having an art studio allows you to incorporate your ideas to develop the perfect vibes for creative activity. From fairy lights on the walls to your own paintings propped on easels, there is plenty you can do to make your studio a relaxing one.
Building that space for art is also a thrilling process, especially if you put a lot of thought into everything from furniture to music players. The next time you have that artistic itch in your fingers or a muse on your mind, you can enter the studio and let your creative juices flow.
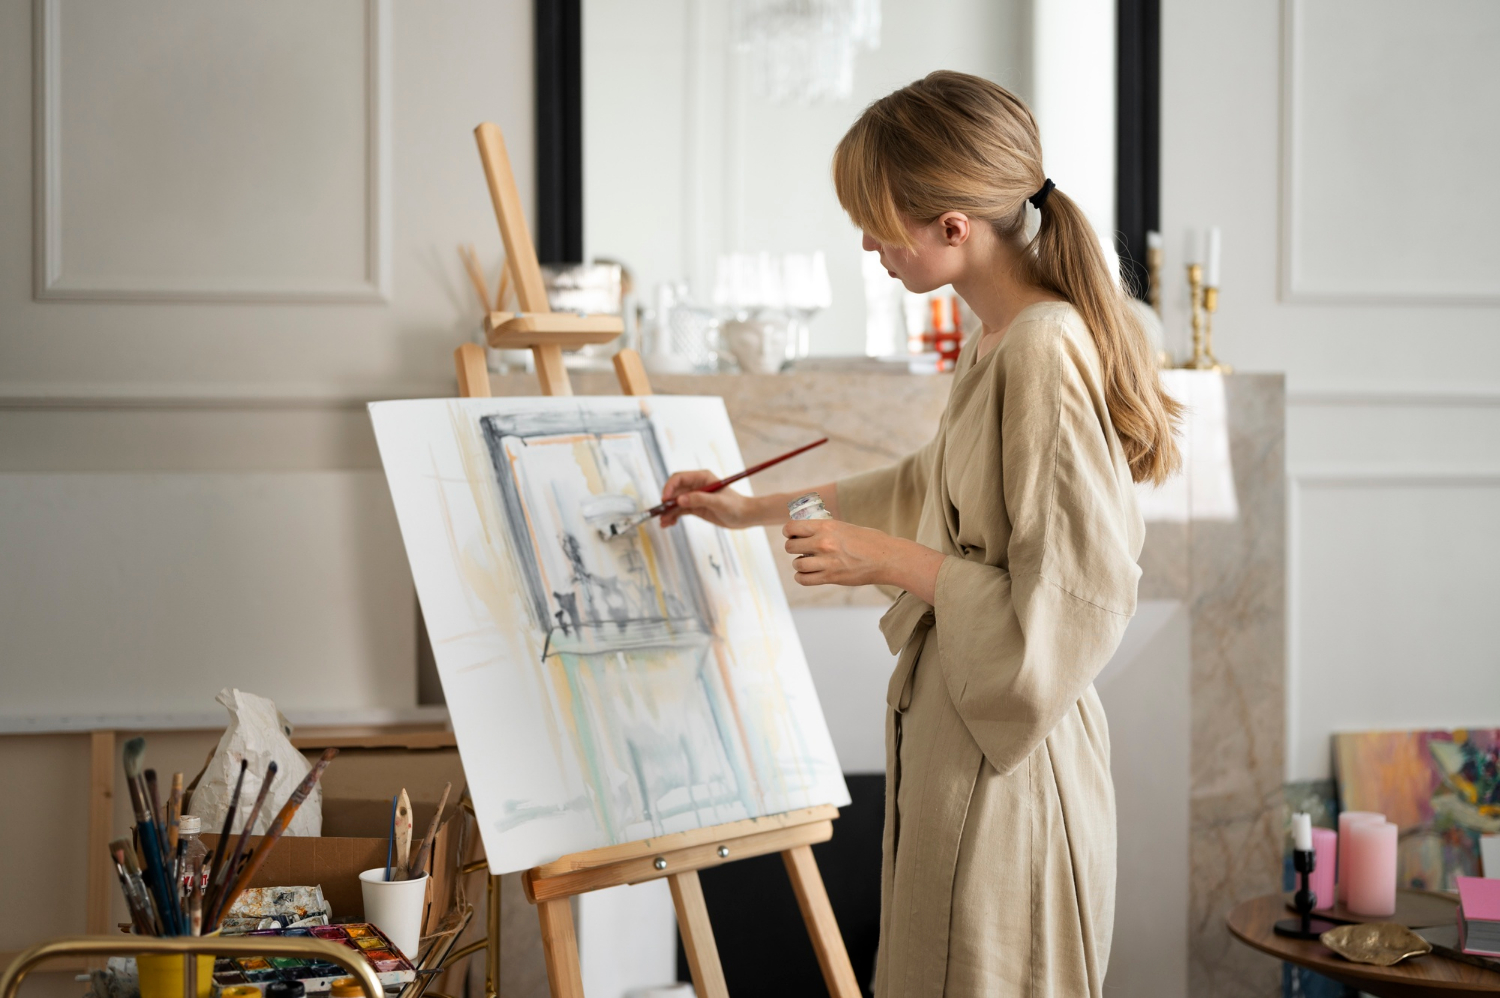
DIY Studio: Use Your Living Room as an Art Studio
For artists on a budget, not having a personal studio physically hurts. But that is the thing about a creative mind; you don’t need a million dollars to build something beautiful. A feasible alternative is to use your living room as an art studio. Likewise, you can also work with a space in the garage, attic, or spare bedroom.
1. Paint the Walls
Unless the walls exude the creative energy you want to be surrounded with, it will be a good idea to repaint them. While choosing the shades, you should consider the lighting, color temperature, and atmosphere as well as the furniture that will stand against the walls.
The color you pick will affect your art projects. Many people go for muted colors like beige, making their wall hangings like plant vines and paintings stand out. Other shades like off-white and sky blue also make a splendid choice because sunlight can bounce off the walls and illuminate the space. Contrastingly, an intense chroma of dark colors can disturb the mood of the studio.
However, if your artwork has to do with classical illusions and shadows and you take inspiration from your circumstances, a milder color will work wonders. A more unconventional choice would be to experiment with different colors on different walls. Brown tints can accentuate your sea paintings, and the gold background will be perfect for vivid sunsets on canvas.
Painting your space can also be a great opportunity to create something more personal and reflective of your interests. Abstract designs or geometric motifs on the walls, for instance.
2. Invest in Shelving and Carts
Nothing says organization like the shelving in an artist’s studio. By setting up wooden shelves with multiple sections, you can considerably increase the capacity of your living room. The best part is that storage racks do not cost an arm and a leg, and you can put them up yourself. Once you have adequate sections, you can start dividing the art supplies.
It’s also a great time to declutter. Get rid of the dried paint bottles or stiff brushes that don’t work. You can also donate, sell, or gift the colors you never use and mediums that don’t fit your style. Once you have only relevant supplies left, you can start piling them on corresponding shelves.
Many artists allocate separate racks for art surfaces (canvas, sketchbooks, paper, and so on.), art mediums (oil paints, watercolors, gouache, markers), and complementary substances (gesso, primer, varnish, and so on). If having everything within reach is super important to you, rolling carts are also a great investment.
If you want, you can purchase unique art pieces and hang them up on your walls as inspiration.
3. Set up Your Desk
Some prefer standing in front of the easel during painting sessions, while some find it more relaxing to sit, but most artists alternate between the two. Whichever is the case with you, a proper desk is mandatory. For better organization, add pencil holders for brushes, pens, and markers.
You can also go funky and look for fun-shaped desk organizers. Make sure you have ample water jars neatly stacked together. Add plant pots, scented candles, table clocks, miniature paintings, framed photos, or whatever appeals to you for more allure. Be it your jar of cool rocks or vase full of orbeez balls, don’t be afraid of giving your studio a distinct personality!
4. Take care of the lightning
Living room windows that allow the natural Northern light to flood in are great. But since seasons change, these are not sufficient, and you should consider getting lamps. Depending on the lumens, these can range from inexpensive incandescent household lamps to more pricey fluorescent tubes and halogen lamps. It will enhance your DIY studio’s ambiance and facilitate projects that take long and ungodly hours to complete.
Conclusion
It truly helps to have an art studio that’s within reach, such as your living room. When you use your living room as an art studio, you are creating your personal utopia that you can visit whenever inspiration hits you. Who knows, you could be the next Banksy!


