You have to be the change to bring the change.
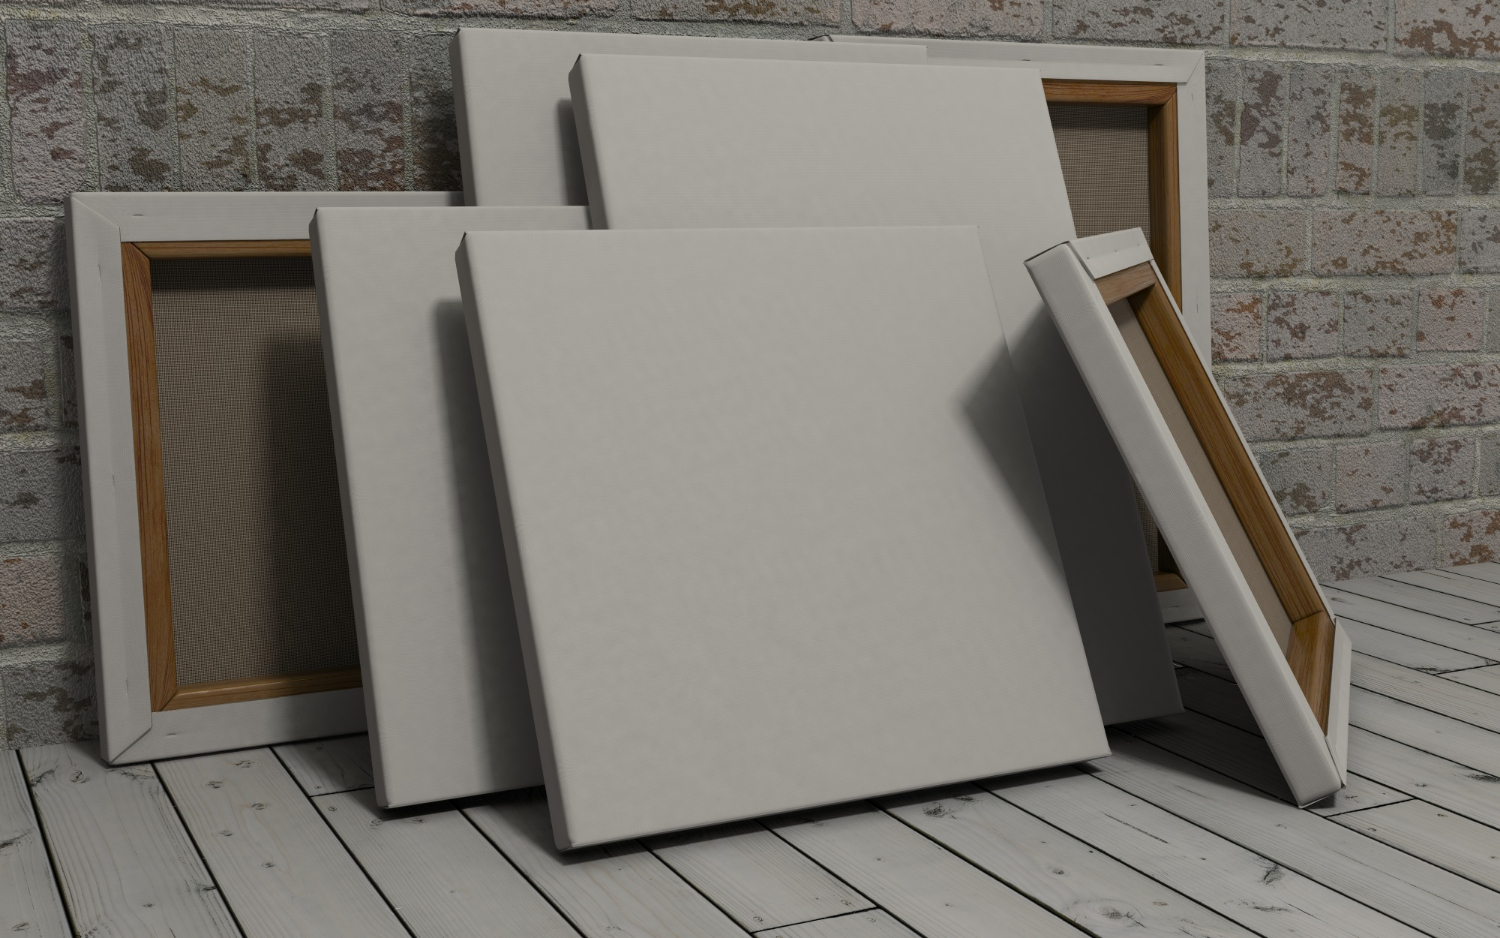
How to Stretch Your Own Canvas
Our content is reader-supported. We may earn a commission if you make a purchase through one of our links.
From choosing the right canvas to learning how to stretch it over your stretcher bars accurately. This enlightening walkthrough about stretching your own canvas will inaugurate many new doorways for the common day-to-day artisan wanting that wee bit of extra control.
The Mona Lisa by Leonardo da Vinci, The Starry Night by Vincent Van Gogh, and The Scream by Edvard Munch, all of these are much-publicized works of artistry. But to accomplish such achievements, all the components should be in perfect condition. Alongside your main tools (the paint and the brushes) is also your canvas.
Being part of the creative procedure from the start till the end is what most artists strive for. Everyone has a contrasting taste and thus choosing the right canvas for your painting is essential. The paramount element is that you understand the difference between the assortment of canvases available. To a newbie, stretching your own canvas may seem like an unnecessary, time-consuming, and difficult task even though the rewards are copious.
Perhaps you might be comprehending why bother when there is a variety available already stretched out at your basic art supply store(s).
Why Stretch Your Own Canvas?
There is nothing wrong with purchasing these pre-stretched or pre-gessoed canvas frames, but on the other hand, you are stuck with whatever sizes and shapes the manufacturer decides they want to sell.
Withal, a stretched canvas refers to it already being on the frame, ready to be painted on, whereas an unstretched one comes in the form of a roll of a canvas where you can decide according to your specifications of the required project. Gaining information on how to stretch it yourself is essential to any passionate painter who does not want to be squared into a box. This can also assist them in accomplishing their desired look.
Stretching your canvas turns to one’s advantage, as it is a great way to save money as an artist as it keeps your overhead low. Further on, they may be able to choose the materials whether or not they are primed (single or double-coated) or raw canvases, regular wooden bars, and steel pipes, the freedom of choice for its customization is endless alongside your personal touch. And getting to write ‘I stretch my own canvas’ on your artist statement is indeed very helpful!
Opting for a raw canvas in comparison to a primed one is comparatively cheaper. This is due to it not having a layer or two of gesso. Gesso is a binder that will help prepare (or “primes”) the surface for paint and help the colors stand out. It also helps in preventing the paint from absorbing directly into the canvas.
Now, let’s learn how to stretch your own canvas.
The Objective for Canvas Preparation
There is a prompt relationship between the painting’s endurance and proper canvas prep. Keeping in mind, extremes in canvas pull (overly tight or a tad bit too loose) and rifts and creases are unfavorable as they ruin the beauty of the artwork. This is if the canvas has not been stretched out from one end to the other uniformly, which may have deformities due to the inconsistency in the tensions between the two.
A traditional canvas frame is also referred to as a stretcher and is made up of your basic wooden perimeter, onto which the margins of the paintings are fixed with nails or glue. Moreover, something to consider when using stretcher bars is that they come with small wedges of wood called “stretcher keys” at the time of purchase. These are not useless and are the “keys” to maintaining and tightening the painting’s frame at future stages of its life.
How to Get Started? A Beginner’s Guide to Stretching Your Own Canvas
First and foremost, get the right tools.
The equipment required for stretching a canvas is not household but can be found at the local supply store. You will need:
- A hammer or a rubber mallet.
- A measuring tape.
- A pair of canvas pliers
- A heavy-duty staple gun
- The stretchers (you can either purchase them or fabricate them at your home.)
- Gesso
Assembling the Stretchers
Your canvas frame (stretcher bars) will feature factory-cut slats in which you can slip another one. Make sure they fit in snugly and are rigid so that it makes the frame. Measure the diagonals of a rectangular/square frame with a measuring tape and they should be equal in length.
Get Enough Canvas for the Task
It’s necessary to know how much canvas you require for the stretcher bars. Hence, you will need to place your frame onto the piece of canvas fabric and line up the edges of the stretcher’s square with the weave/grains of the fabric at a 90-degree angle.
Make sure you have cut enough canvas to overlap and attach around the back of the frame by a minimum of 5 to 7 inches on either side depending on the width of the frame or else the “stretching” will not work out properly. This is so that the canvas can be stretched and folded over the frame’s edge and can be stapled or nailed into the back of the stretcher.
The Art of Stretching
Now, center the frame on the cut piece of canvas. Try to avoid any creases and smooth out the canvas before starting. Stretch the longest side and wrap it around the frame and staple (2-3 centimeters apart). The corners will be loose for now. Rotate and do the same for the other side and staple on the opposing bar.
Do not staple close to corners or the canvas will twist, making it pooch out. Repeat step 1 for the other side. Ensure the staples lineup so there is no unevenness. Go on and stretch the remaining two shorter sides with a solid pullover and staple them in.
Now, going back to the first side, work from the center staples out to each corner. Continue pulling and stapling pieces of canvas moving around the canvas edges. Fold the corners and tuck them in under one another, pulling tightly and stapling.
Furthermore, go around the staples with your mallet and pound them in, making them sit flush. Proceed to insert those shims into corners to further stretch your canvas. This isn’t vital but helps if there’s a loose nook rather than pulling out a staple and undoing the folds all over again.
Now that you are done, examine the tightness by flipping it over and tapping with your finger. It should sound like a drum and feel very taut. Finally, bring out your paintbrush and gesso, and depending on the brand, it may vary and be thick. Working in a little bit of water will bring it to the right consistency.
Start from the center of the canvas and work your way and evenly distribute in one direction. Wait for it to set before proceeding over to the next layers. This ensures that it dries up unvaryingly. Make sure to apply at least 3 coats henceforth, guaranteeing prime results.
Conclusion
Stretching our own canvas is not a must if you want to excel as an artist. But if you want to develop a special relationship with your art, a stronger bond, try stretching the canvas yourself. It opens up a new phase of the artistic journey where you can attach yourself to your paintings even before the first stroke of paint hits the canvas.
Furthermore, stretching your own canvas is a great way to create your artist brand. It gives a unique touch to your profile. Last but not least, it can help you sell more at an online art gallery!


